Service - Trouble Report
A Trouble Report can be created against a Production (Work) Order. A Trouble Report documents:
- Problem reported by the customer
- Profile (Incoming): P/N, S/N, Revision, Date of Manufacture, Notes
- Profile (Outgoing): P/N, S/N, Revision, Date of Manufacture, Notes
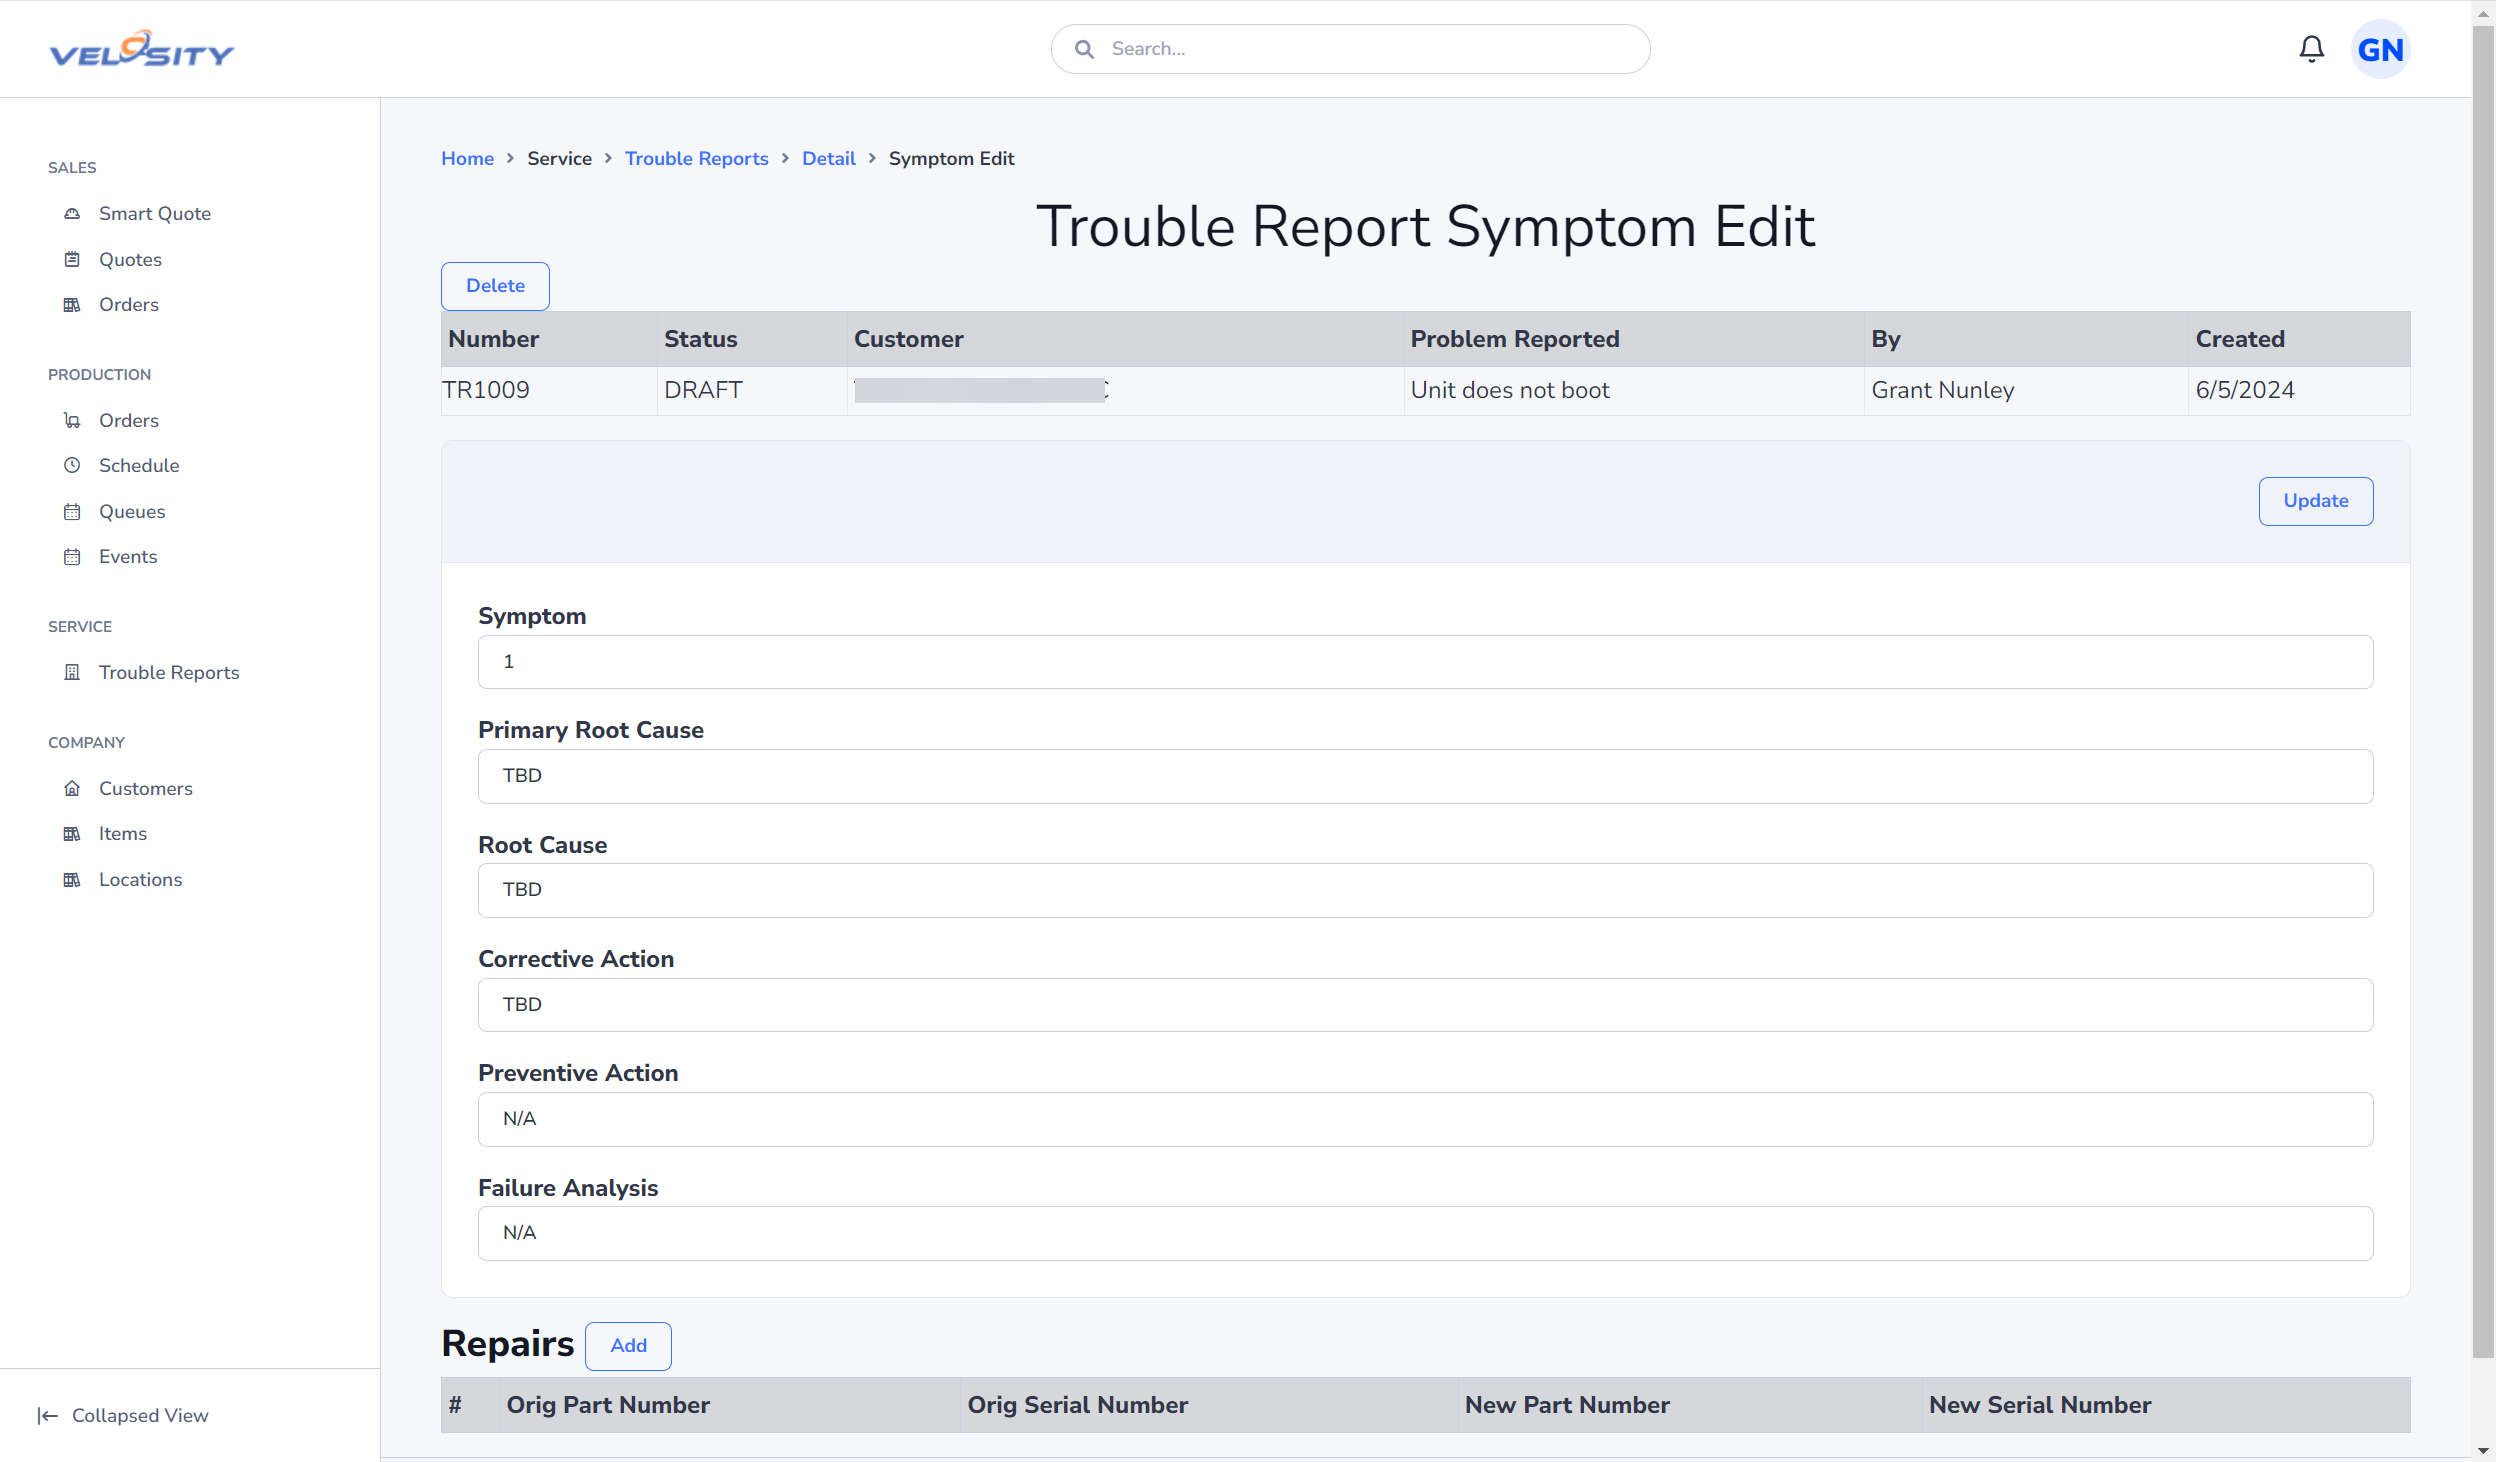
- Symptom (one or more): Symptom, Primary Root Cause, Root Cause, Corrective Action, Preventive Action, Failure Analysis
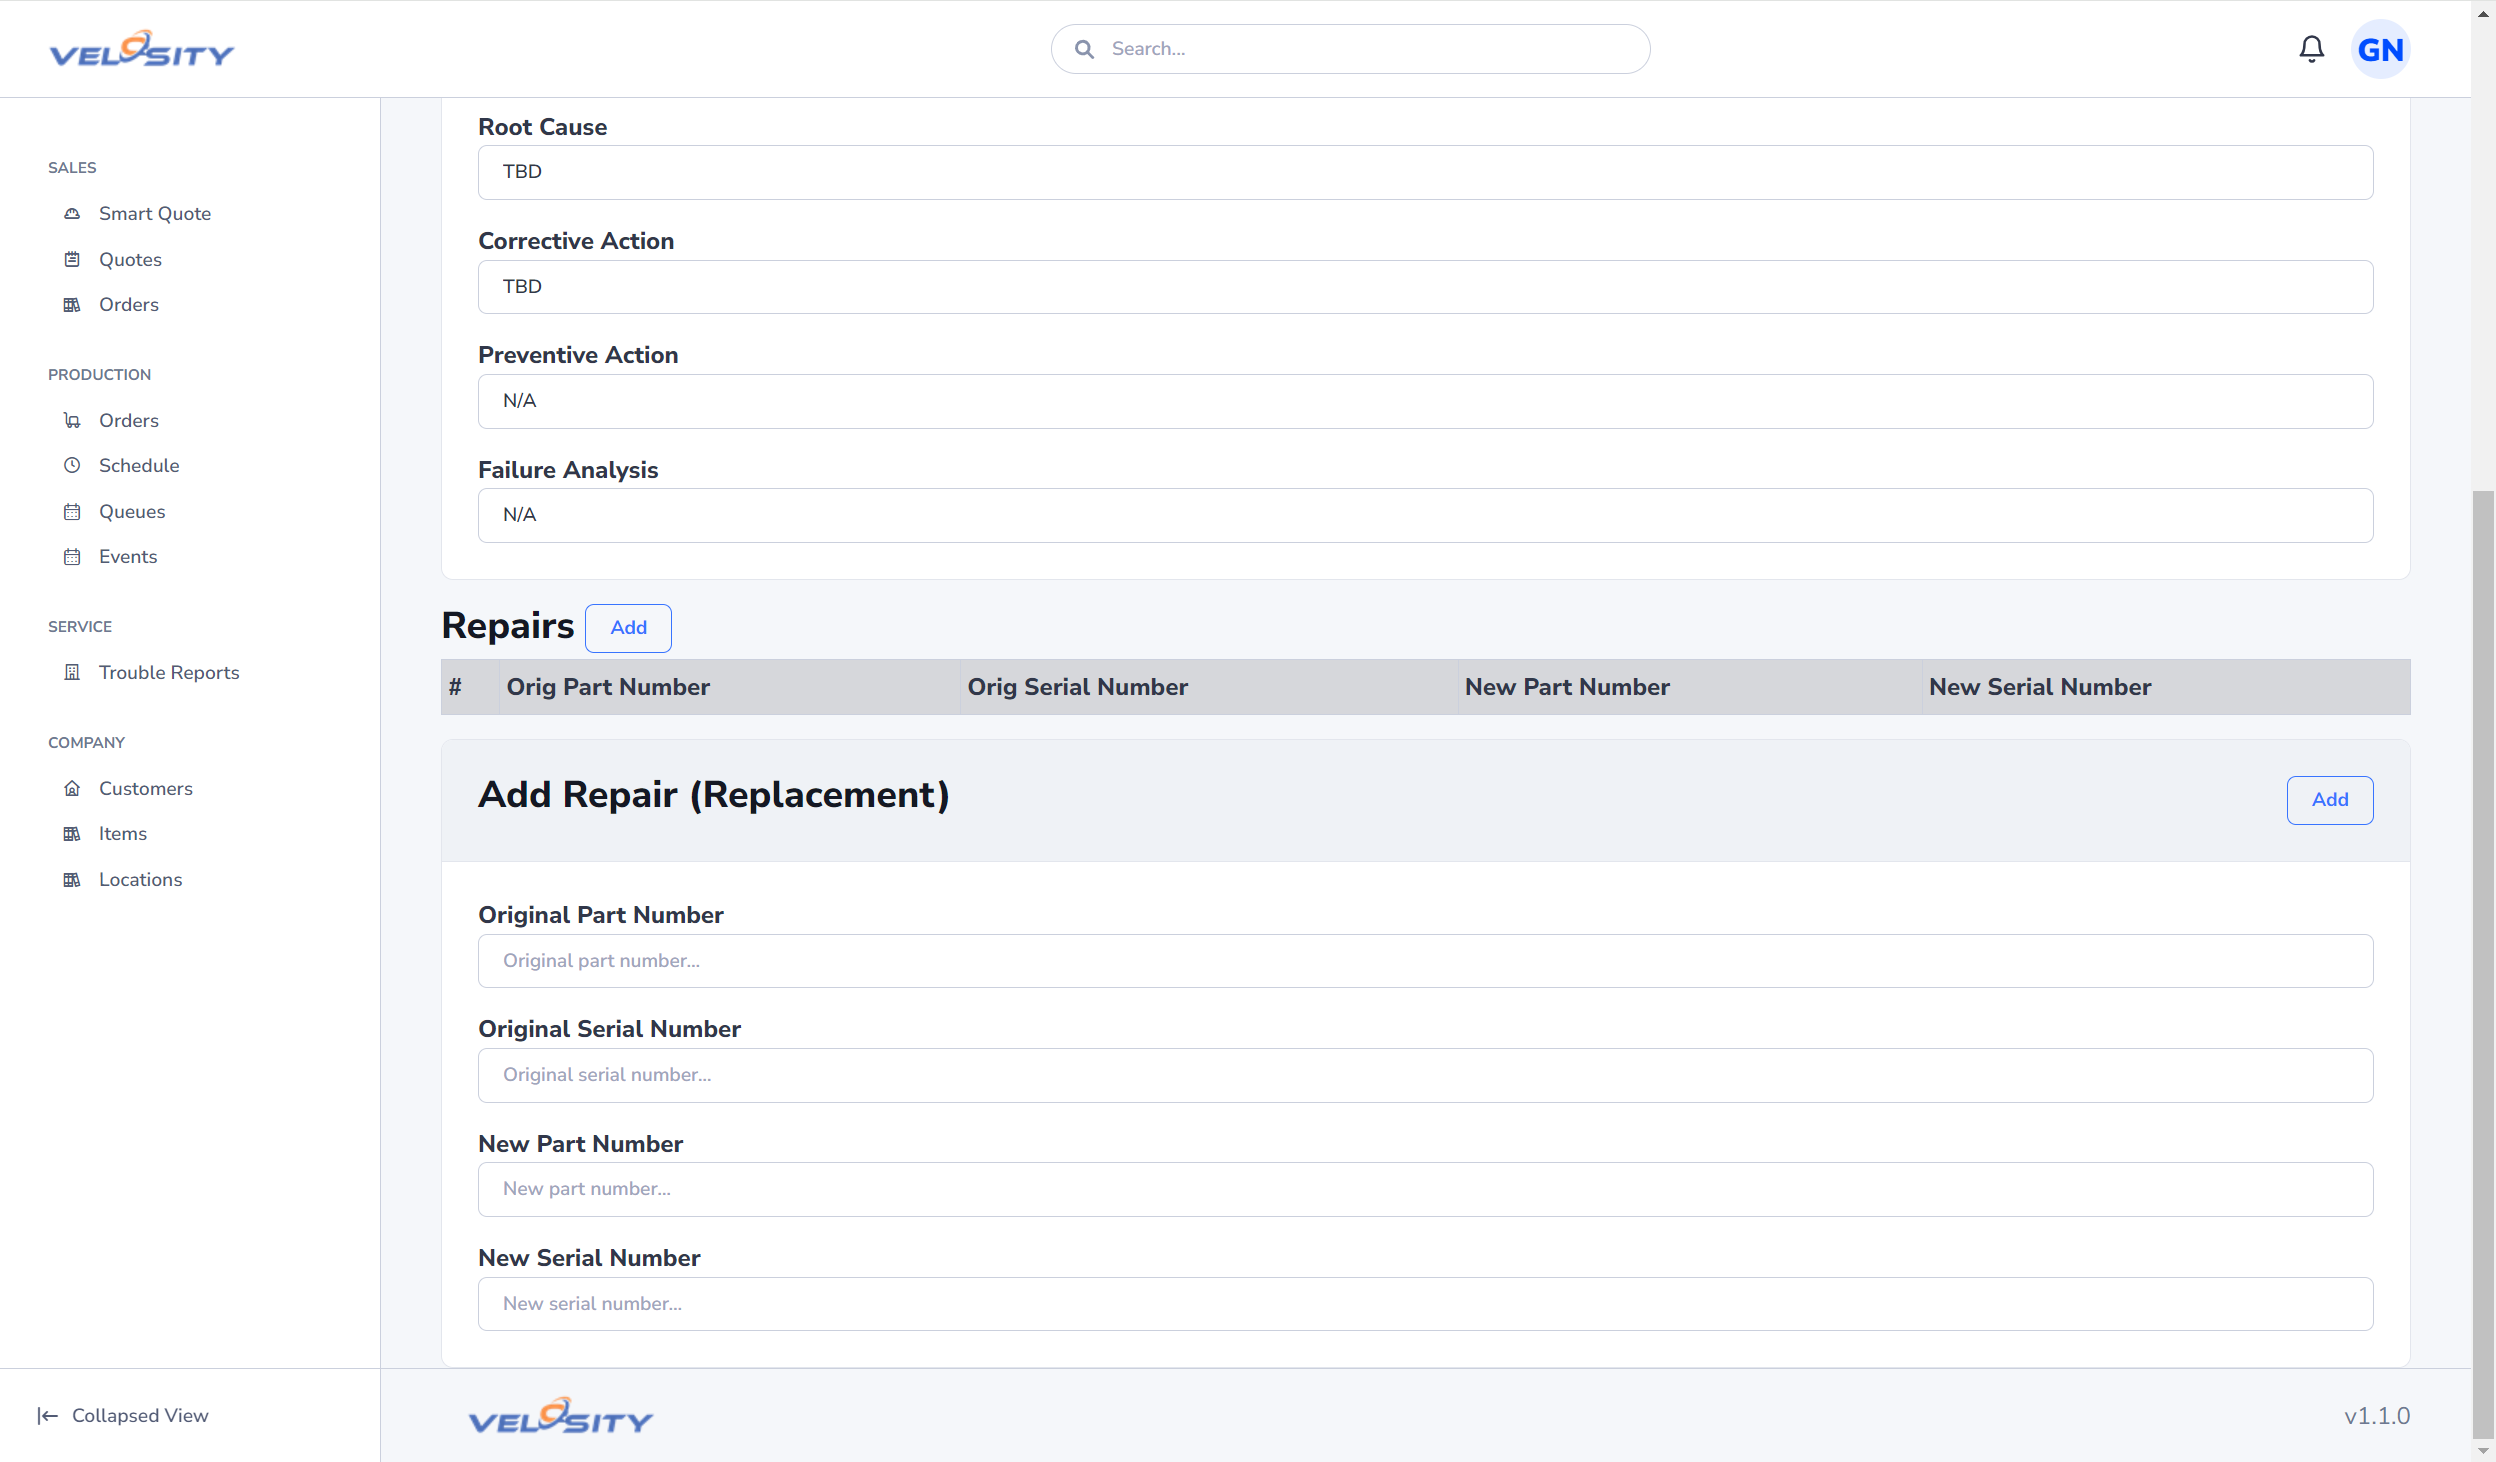
- Repairs (attached to Symptom): Orig P/N, Orig S/N, New P/N, New S/N
Add
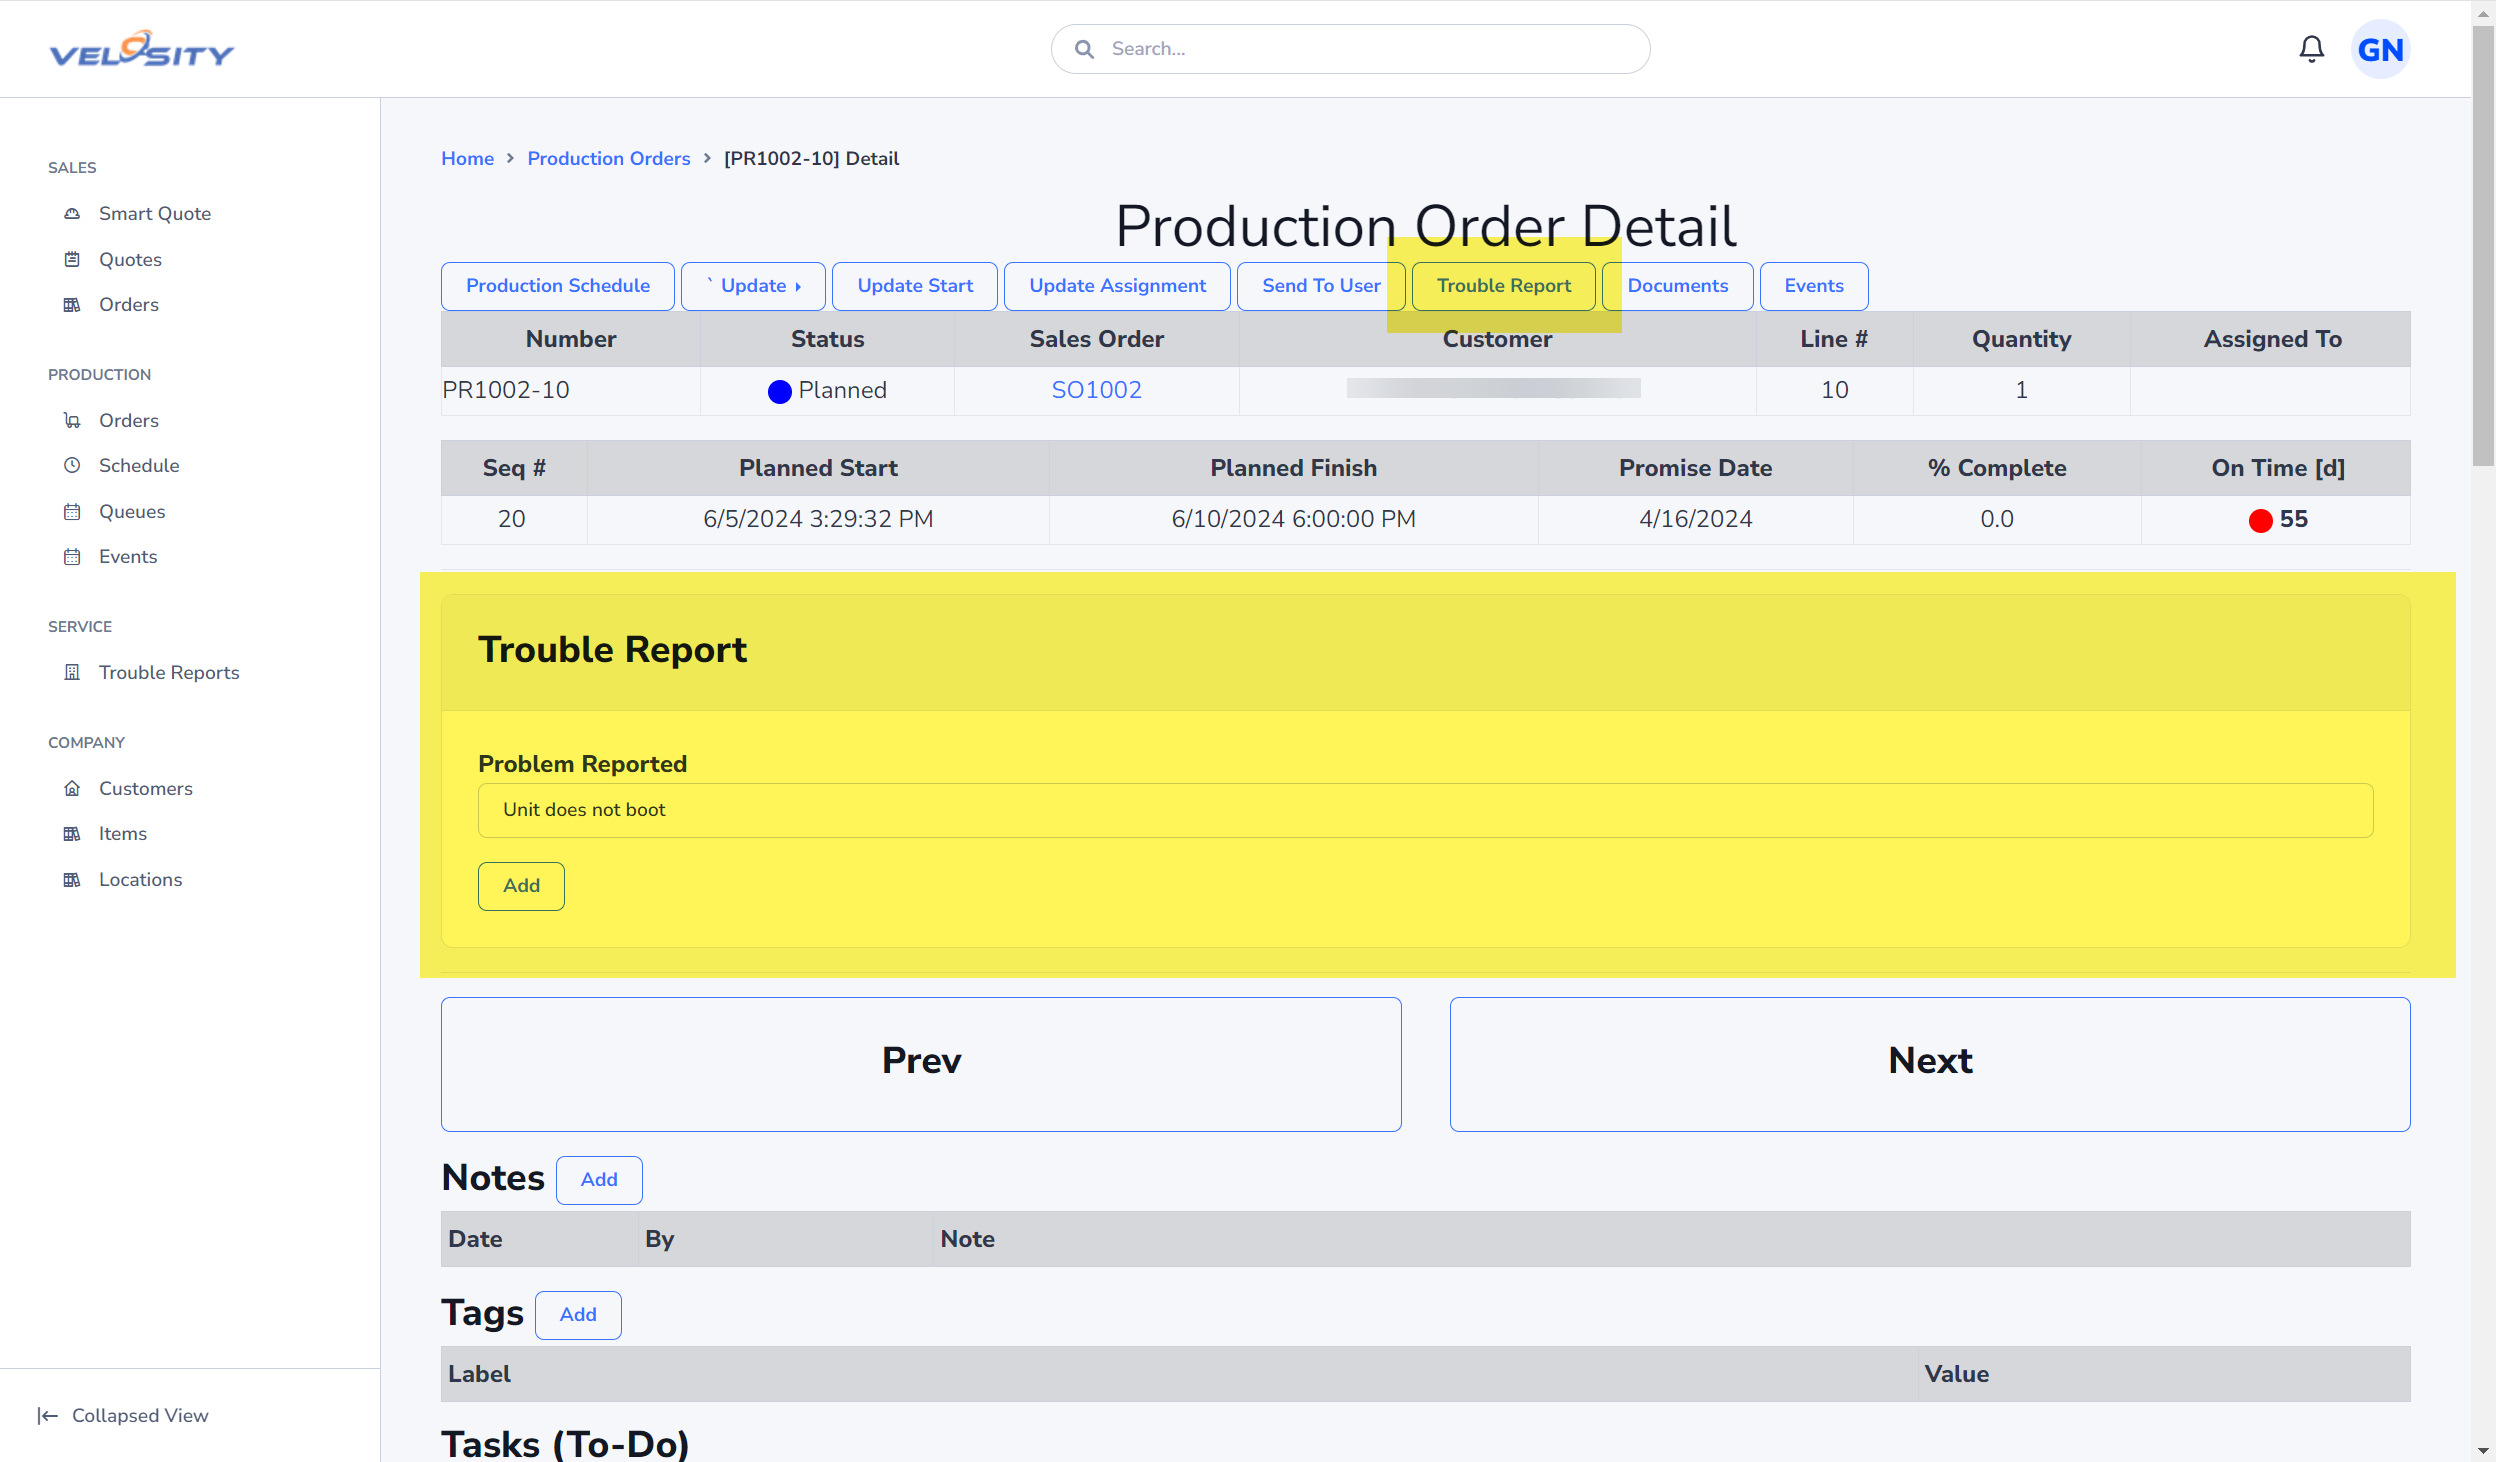
From a Production Order, click on the Trouble Report button. If a Trouble Report exists for this Production Order already, Velosity will take you to the Detail. If not, a panel will open where you can enter the Problem Reported and add.
Detail
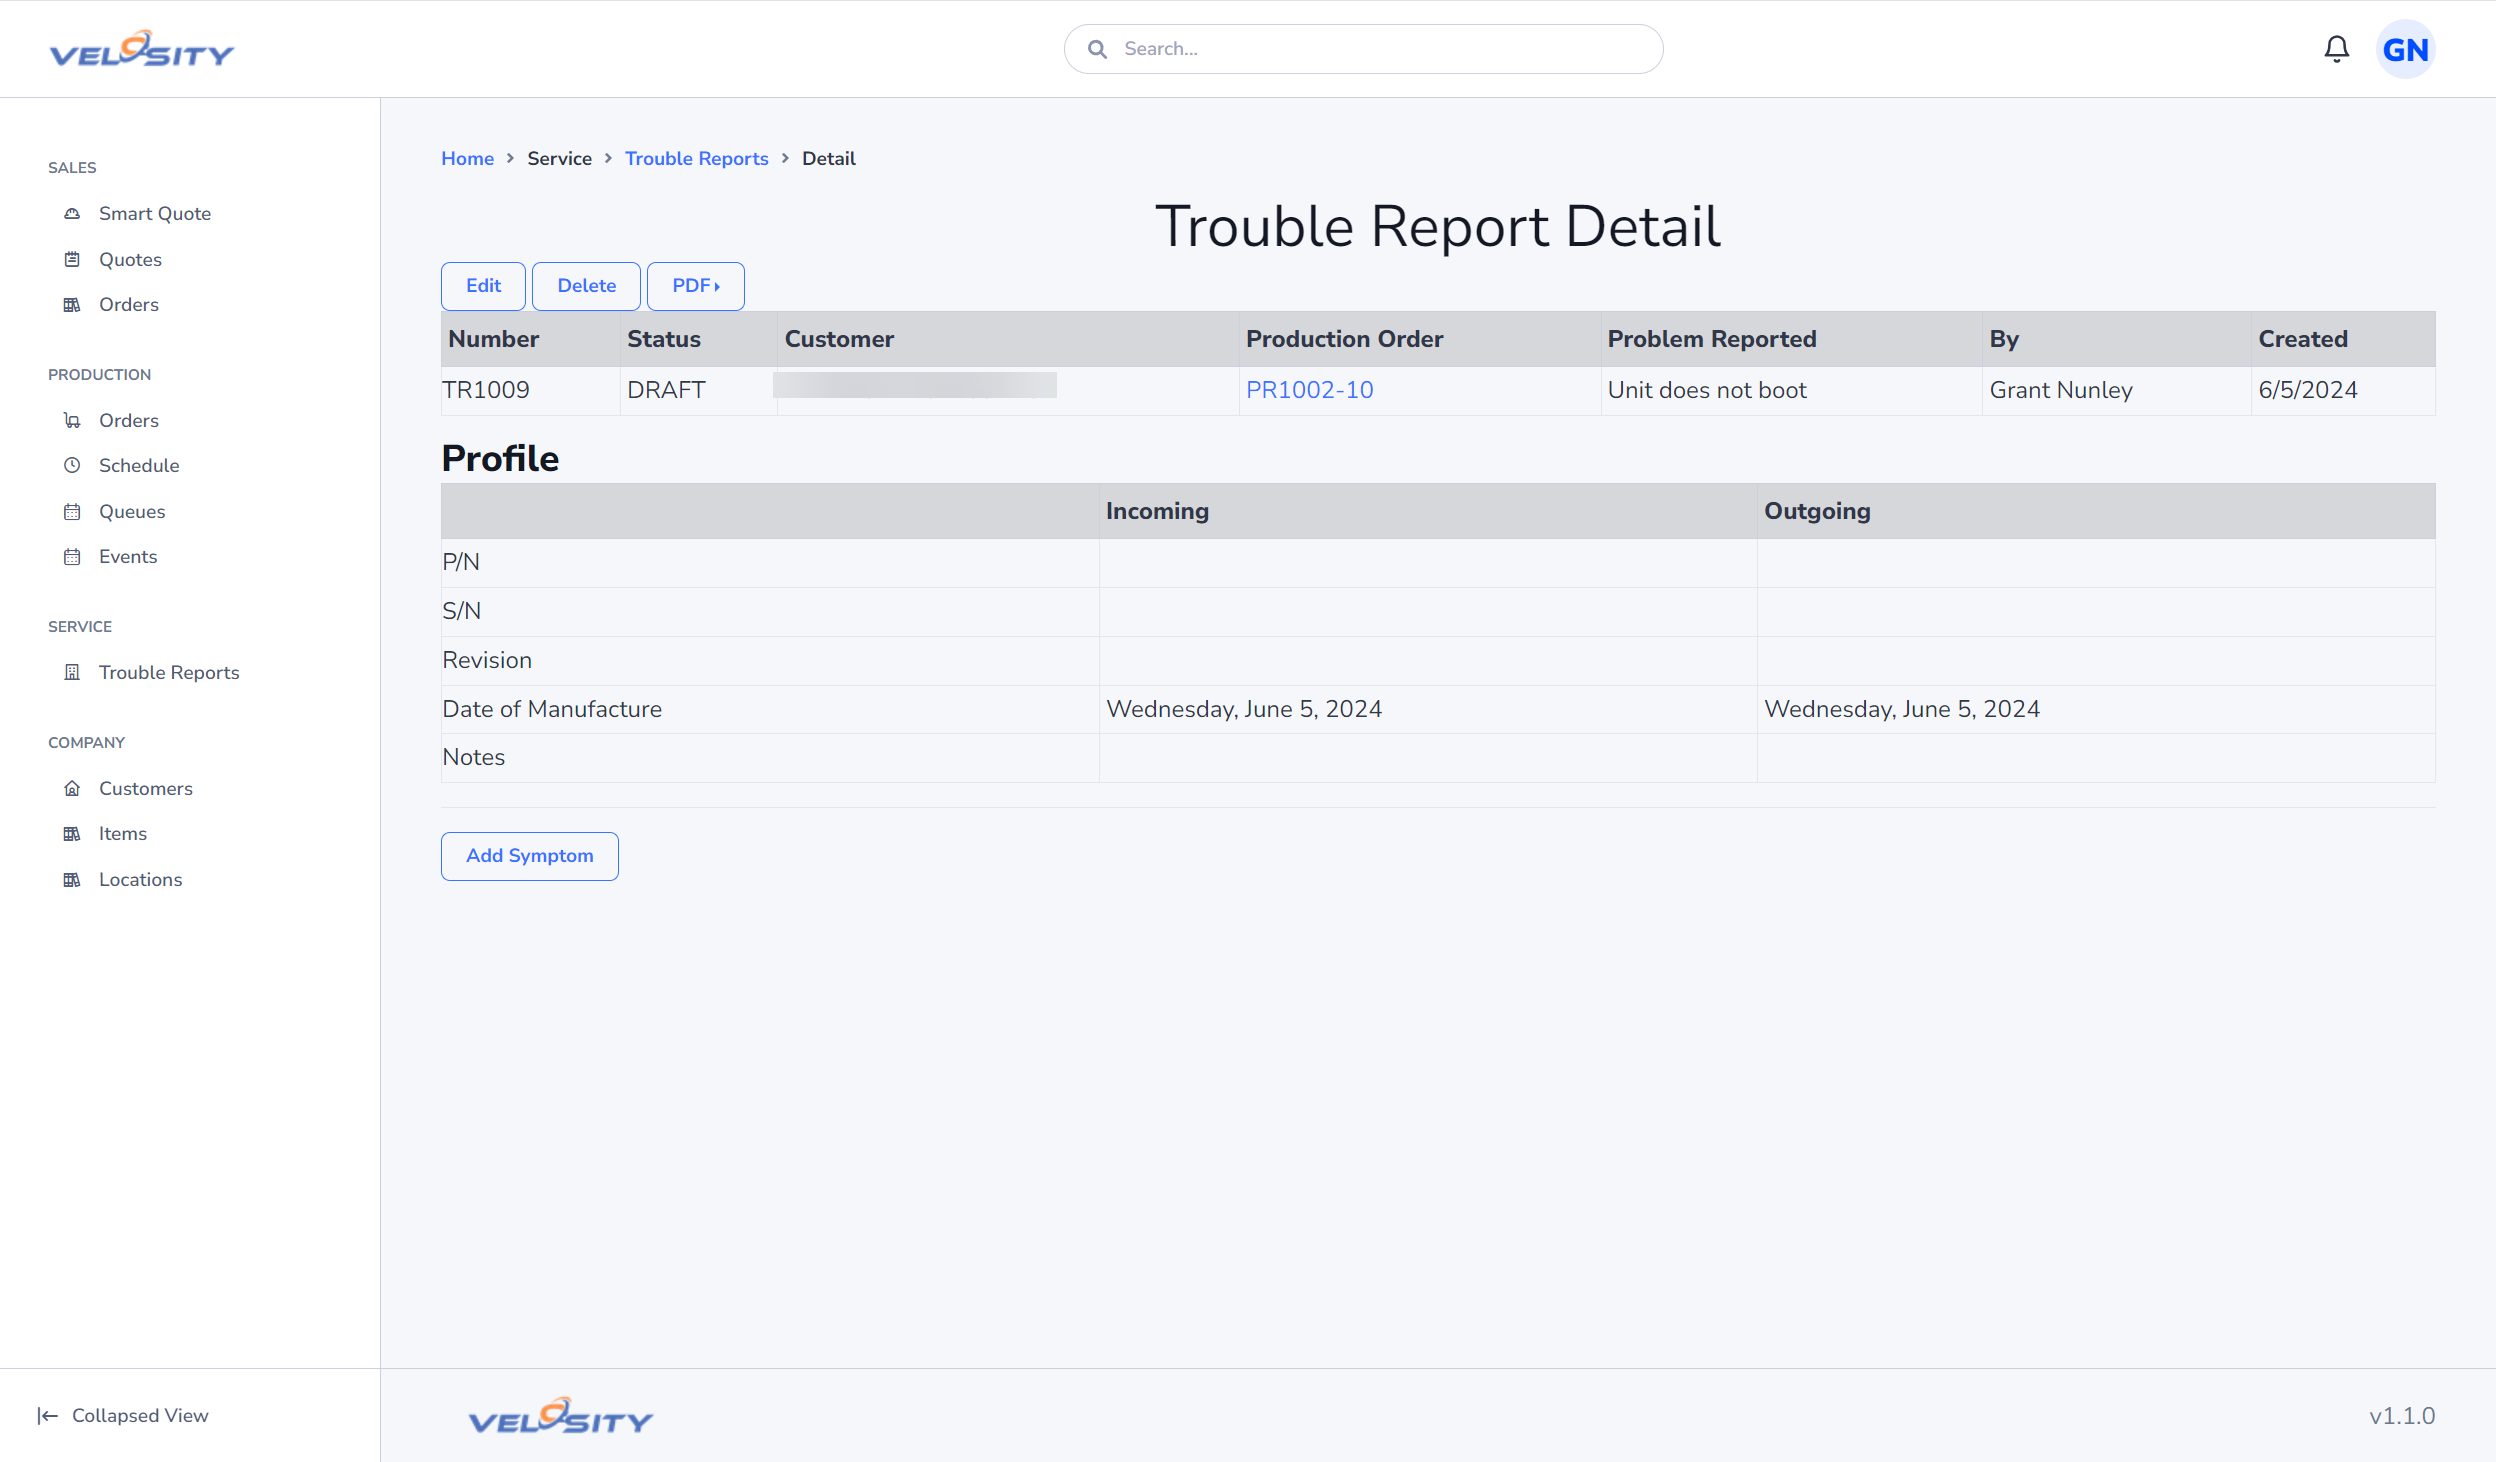
The Detail view shows the current status of a Trouble Report.
Preview
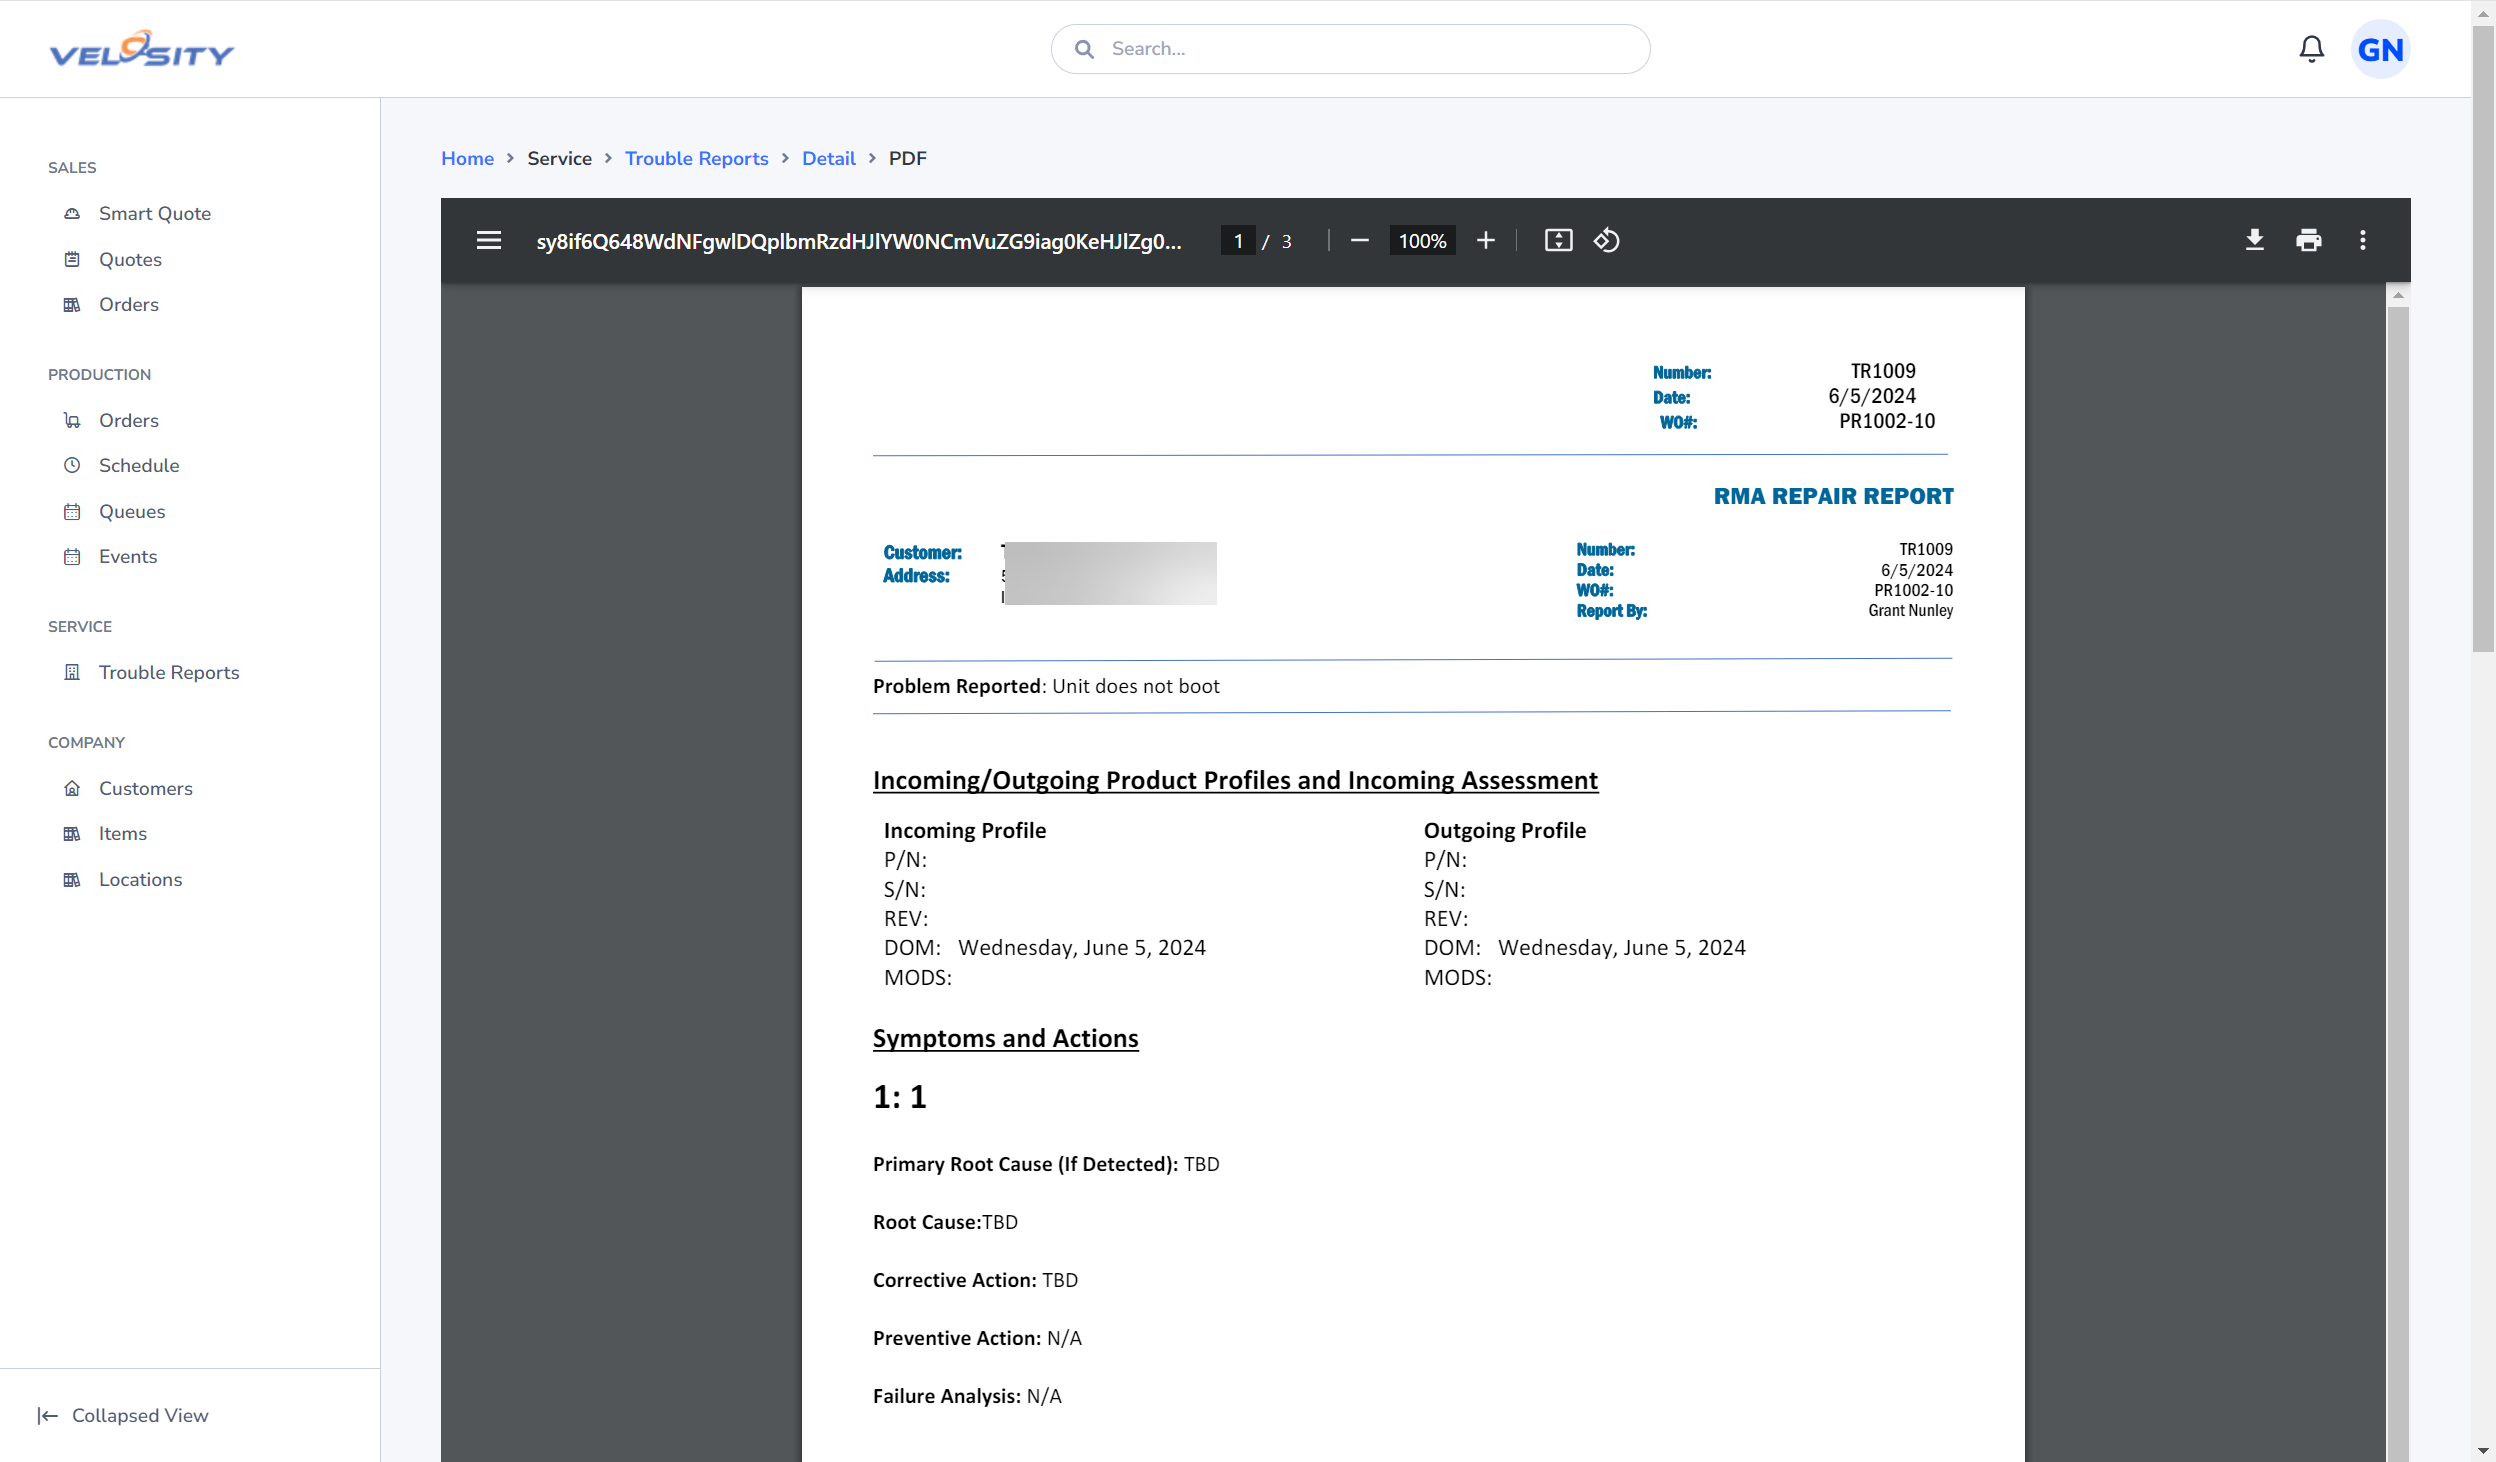
A preview of the Trouble Report (PDF from a customizable Word template) can be shown anytime. The template is managed by your Administrator(s) - contact them for any issues with the PDF.
Edit
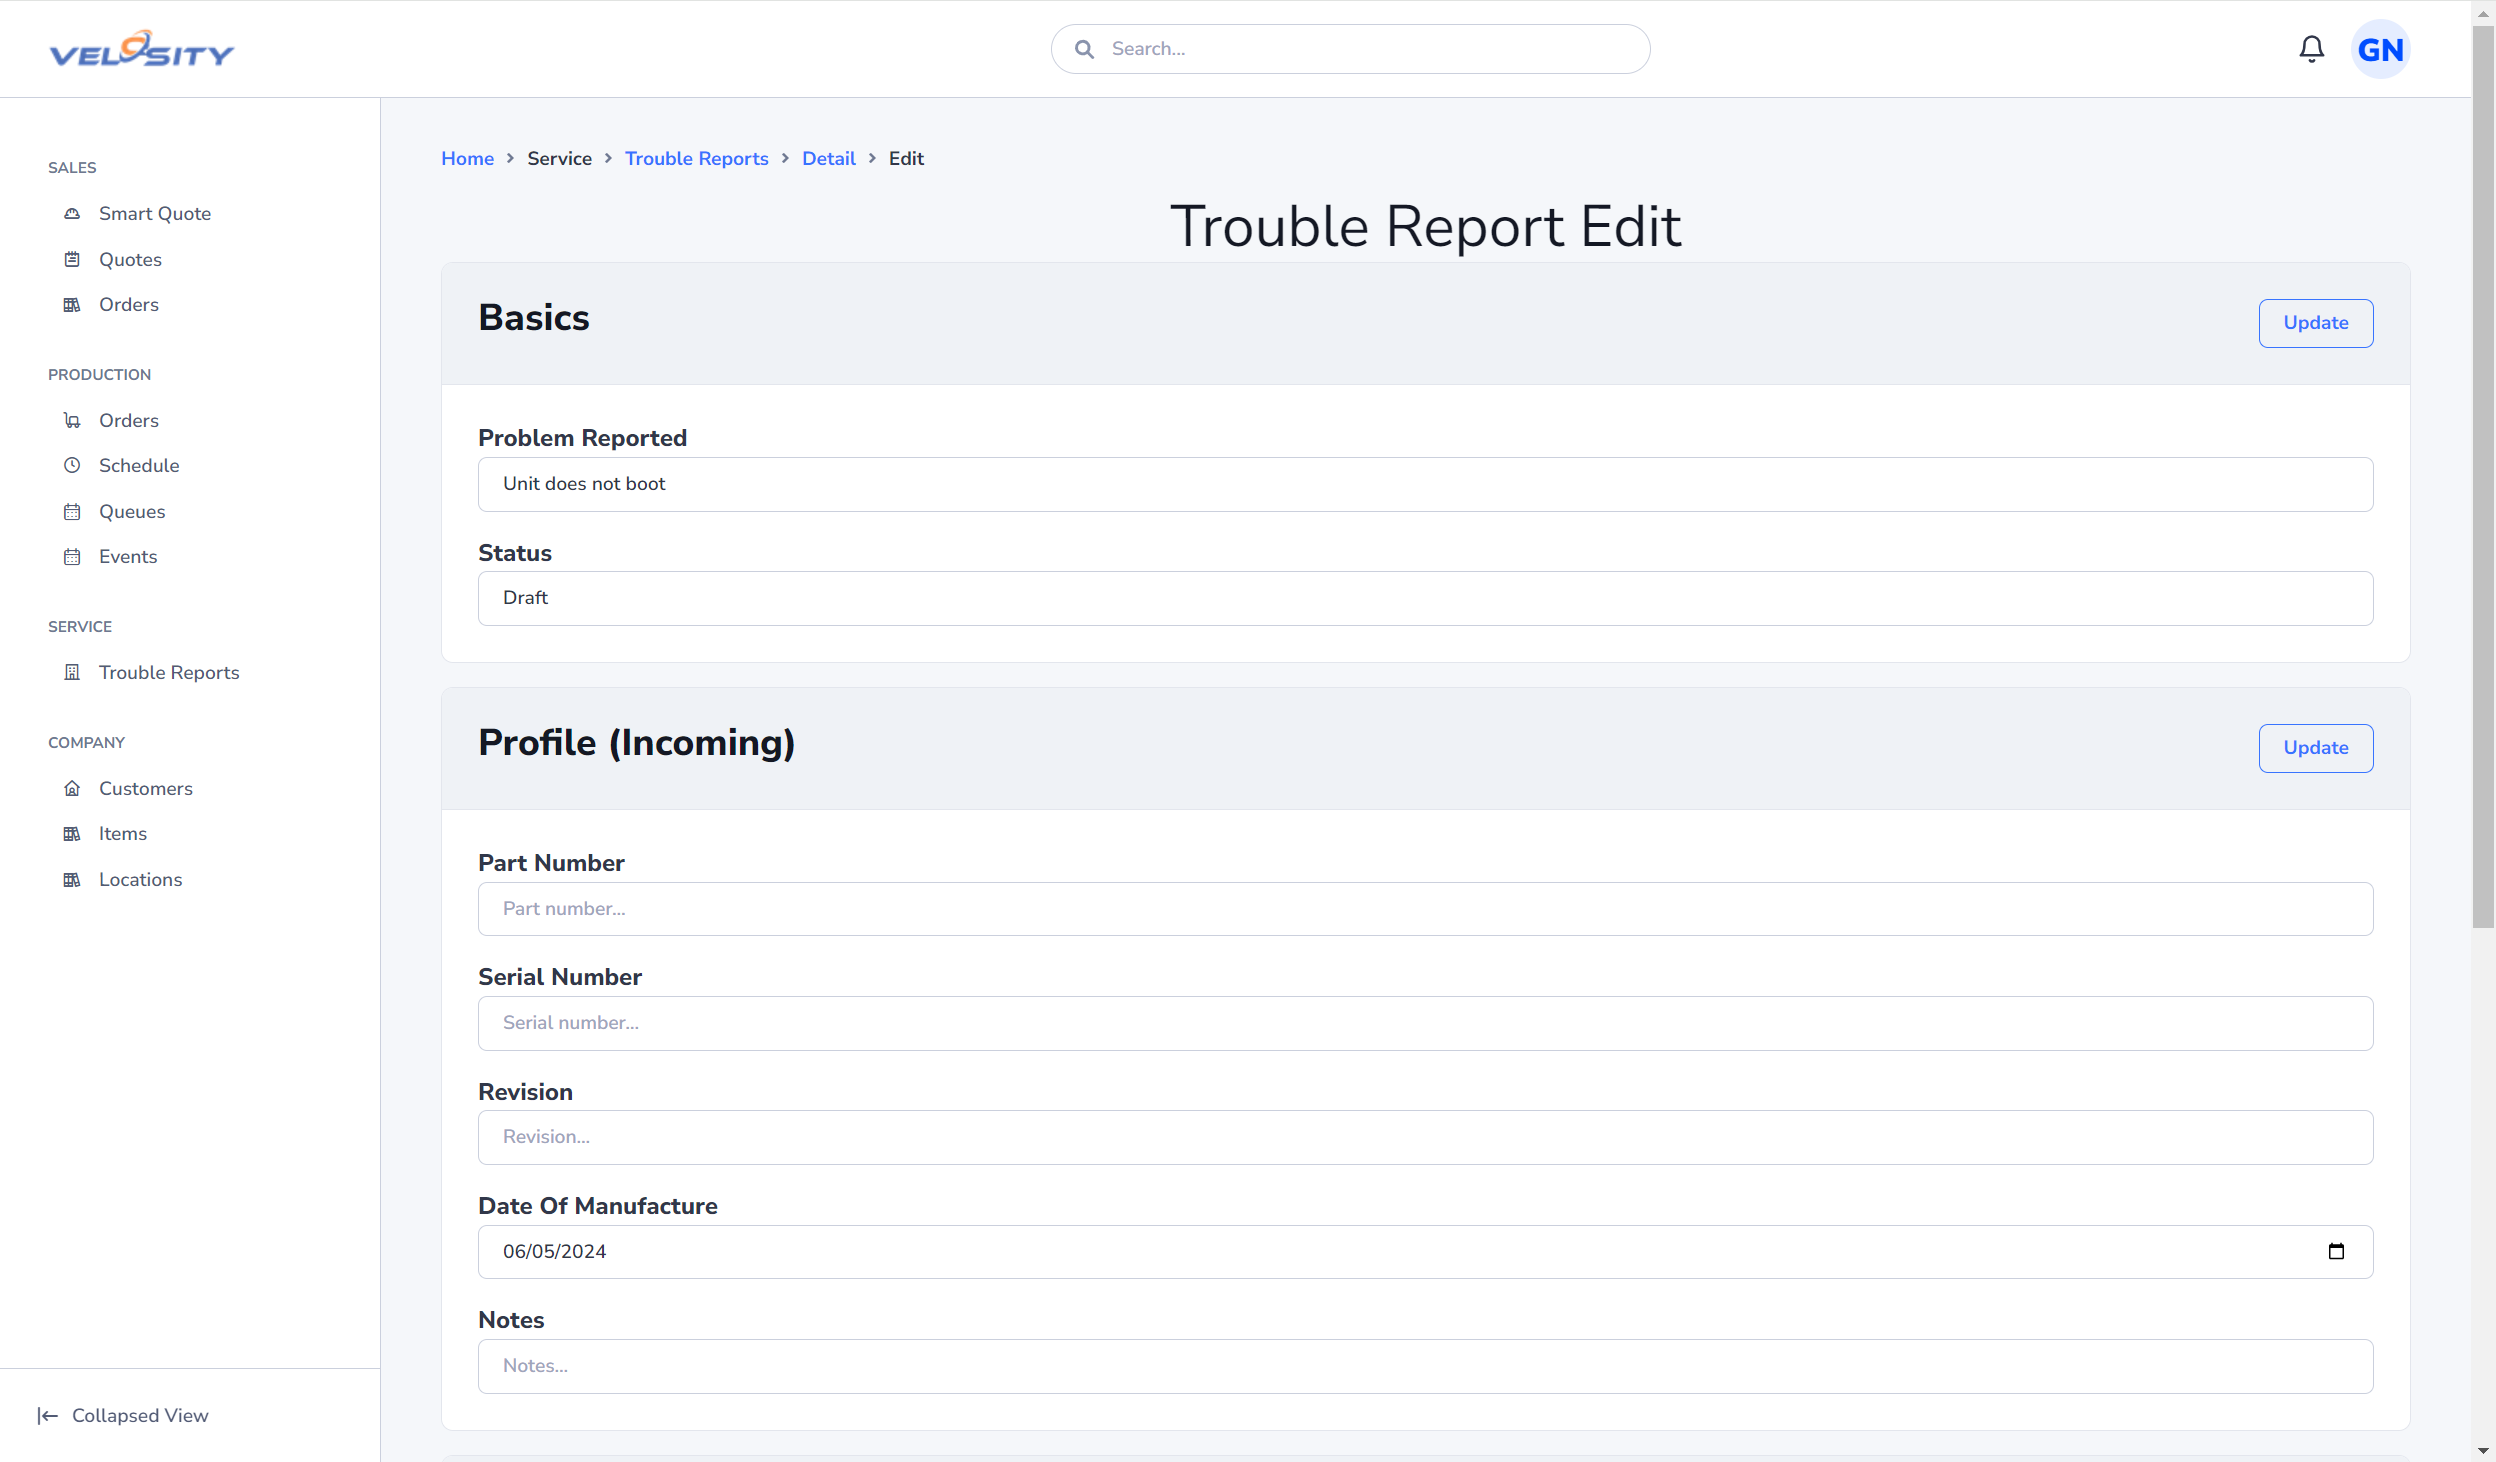
The Edit view is available as long as the Trouble Report Status is DRAFT. From this view the Trouble Report details can be refined and updated.
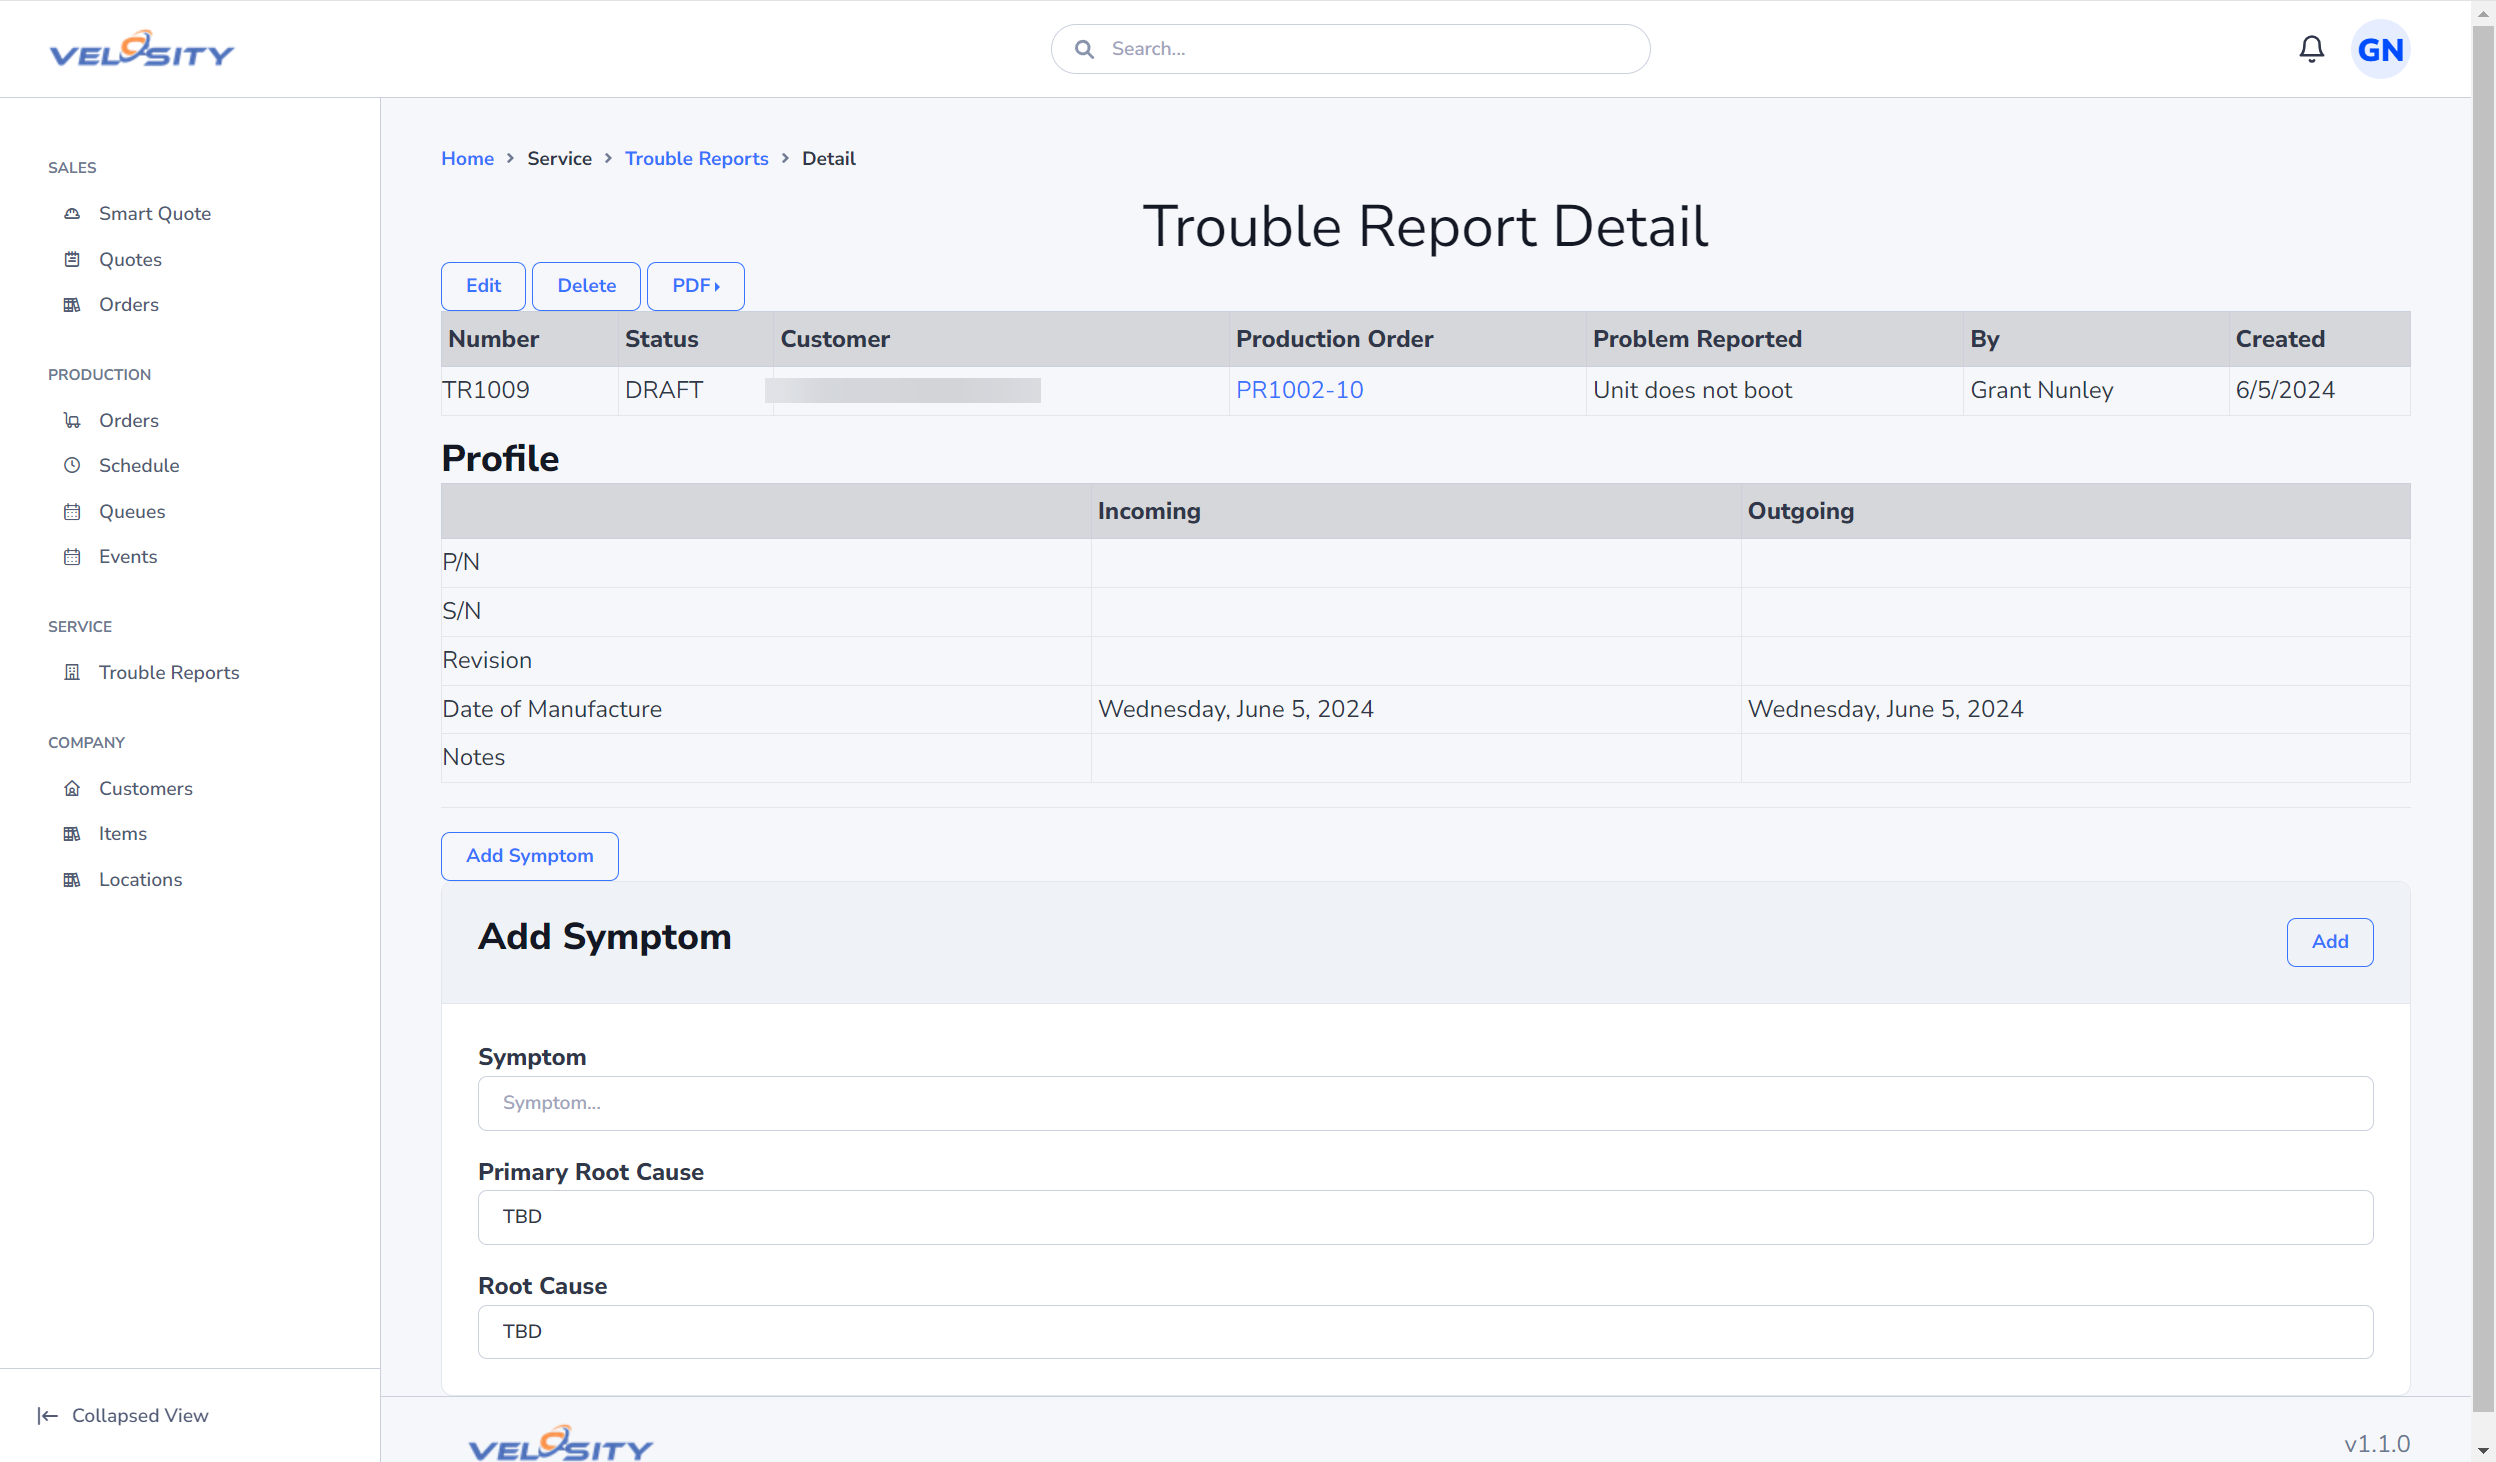
Add Symptom
The first step in refining the Trouble Report detail is to add a symptom. One or more symptoms can be added. Each symptom will have root cause and one or more repairs required to resolve the symptom.
Edit Symptom
Editing a Symptom allows the updated of the root cause and corrective actions. Pre-defined codes (Symptom, Cause, Repair) can be used via Quick Add dropdowns. These pre-defined codes are managed by your Adminstrator(s).
Edit Symptom - Add Repair(s)
How-To
- From a Production (Work) Order, create a Trouble Report, entering the Problem Reported. The next time you click on Trouble Report from here, you will be taken to the Detail page.
- Update the profile of the product being serviced - Incoming: P/N, S/N, Revision level, Date of Manufacture
- Add a Symptom. Use the Quick Add if setup by your Adminstrator(s)
- Edit the Symptom. Update Root Cause(s), Correction Action(s)
- Add a Repair to the Symptom - parts removed and new installed (P/N, S/N)
- Repeat 3-5 as needed
- Update the Repair Summary
- Update required Tags (setup by your Adminstrator(s))
- Update Status to FINAL
When the Sales Order associated with the Trouble Report (via Production Order) is viewed as PDF, the Trouble Report is automatically merged with the Sales Order. The Trouble Report template is managed by your Adminstrator(s) - contact them for any issues with the PDF.